

Are you looking to sell on Shopify? A few simple steps will help you to get your eCommerce store up and running easily and quickly. Finally, you will get a ready-to-sell Shopify storefront in no time.
Yes, within a day, you can create a mobile-friendly storefront with hosting, checkout, payments, shipping options, and marketing functionality.
What are the steps to start selling on Shopify?
In this post, we will walk you through a guide on how to create a Shopify store and start selling there and then. We ensure you will find the entire procedure of creating a Shopify store easy and quick.
Why Sell On Shopify?
When you prefer an all-in-one eCommerce solution, Shopify can be a good choice. Store owners with any digital skill set can grow their business by picking Shopify to create their ecommerce store.
Key Highlights
- Offers varied tools to run a store,
- Need no mandatory skill set to work on it,
- Help scale your business,
- Have an easy-to-use back end.
- Offer five plans suiting business needs, size, and budget,
- Take care of server maintenance and upgrades, etc.
Sell on Shopify – Steps to Build Your Store Easily & Quickly
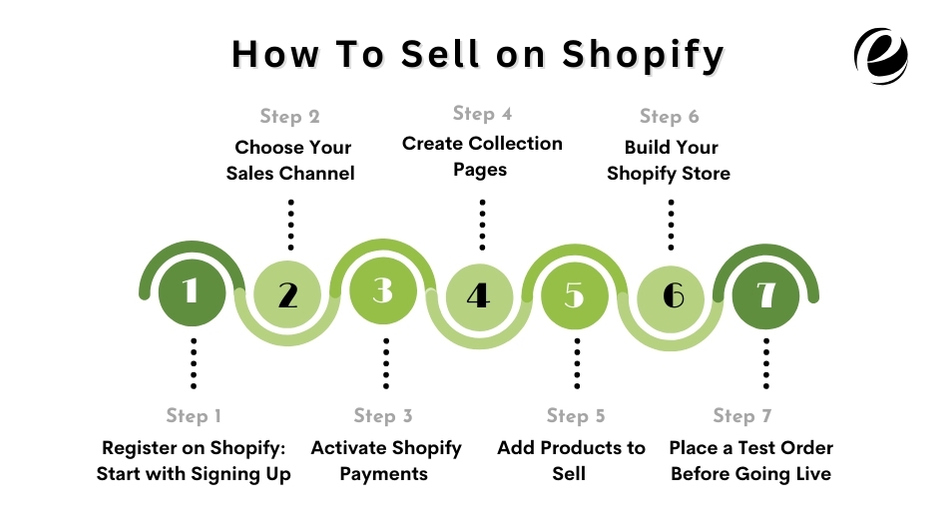
Step 1: Register on Shopify Free Trial – Start with Signing Up
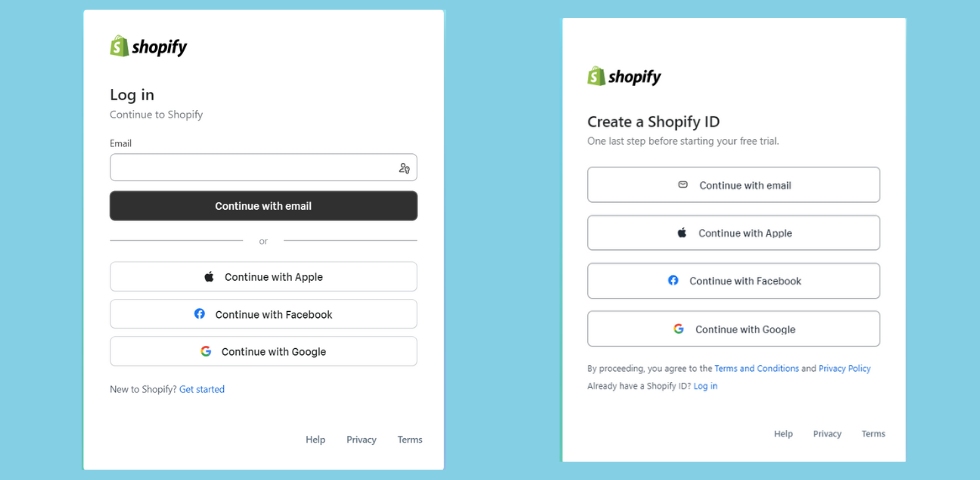
Shopify offers a 14-day free trial that you can sign up for to create your online store to sell.
Note: During this trial period, you can launch your store, sell your products (in person and on social sites), and explore other sales channels. If the platform fits your business needs, you can continue by choosing a suitable Shopify paid plan.
Step 2: Choose Your Sales Channel – Setup Essentials
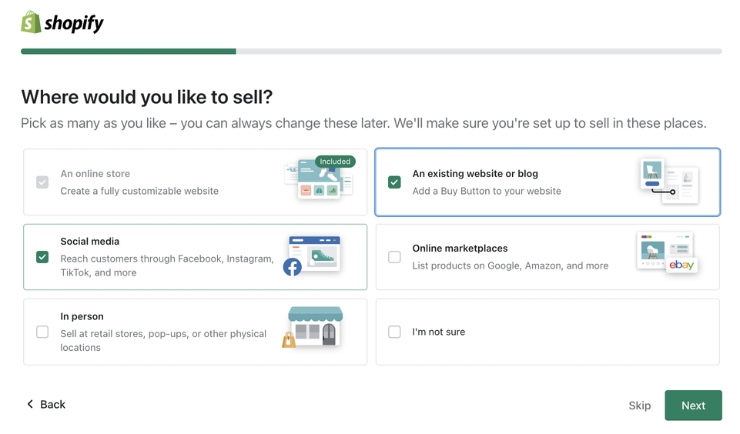
After signing up for the introductory, free plan of Shopify, you will see a quick-start wizard popping up on your window that you can consider to set up the essential. You can choose the channels you prefer to sell your products on, like in-person sales, existing blogs, online marketplaces (like Google, Amazon, etc.), and more.
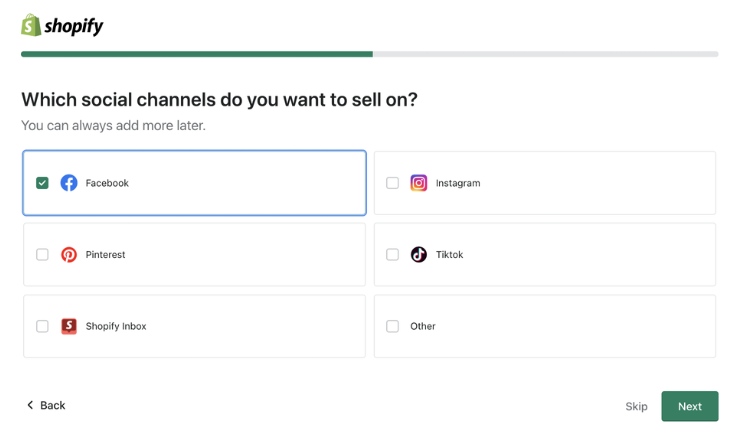
The quick-start wizard will let you connect various social media channels to your Shopify dashboard, like Pinterest, Instagram, Facebook, and more.
Note: An online store that Shopify automatically provides will only allow you to sell on the Shopify store; for more places, you need to choose from the options that pop up. You should explore every offered option that may help you sell online. Later, you can change your selections whenever you want under the Sales Channels tab on your Shopify dashboard.
Step 3: Activate Shopify Payments – Set Up Payments
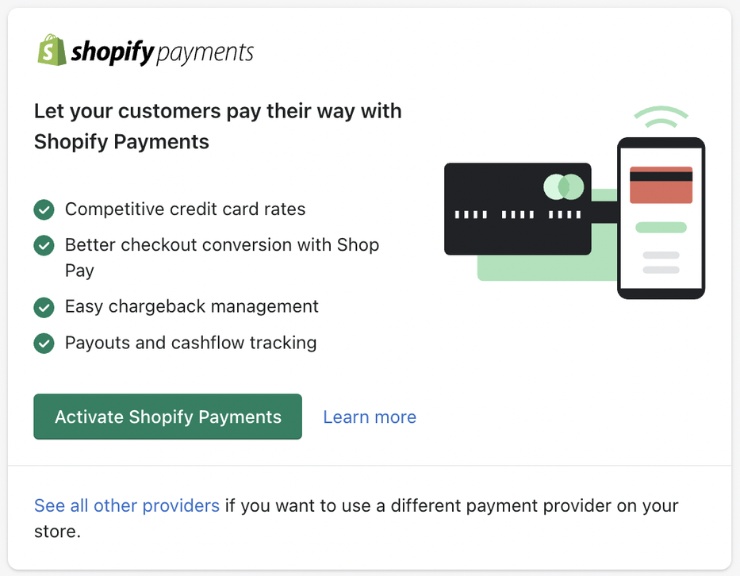
In the quick-wizard, you can activate Shopify Payments to accept debit cards, credit cards, and in-person payments on an amount as processing fees.
On choosing in-person selling, you can add manual payment modes, like checks and cash. Under Settings, click the Payment tab to add or edit your payment methods.
Note: Per your need, you can connect your credit card processor, but Shopify charges a separate transaction fee.
Step 4: Create Collection Pages – Organize Products
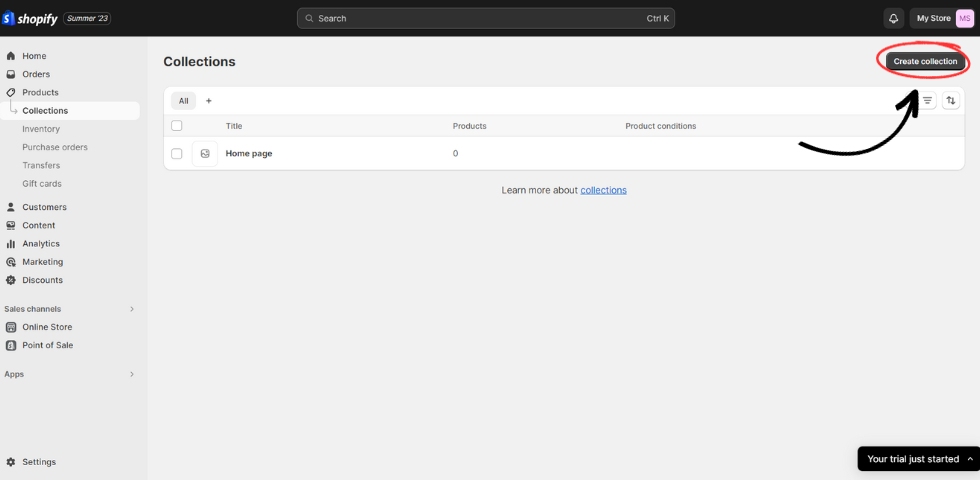
You can create collection pages to organize your products. On your Shopify dashboard, you can set these in the Collection tab under Products. You can give a title and short description to each collection to get help with SEO.
Step 5: Add Products to Sell
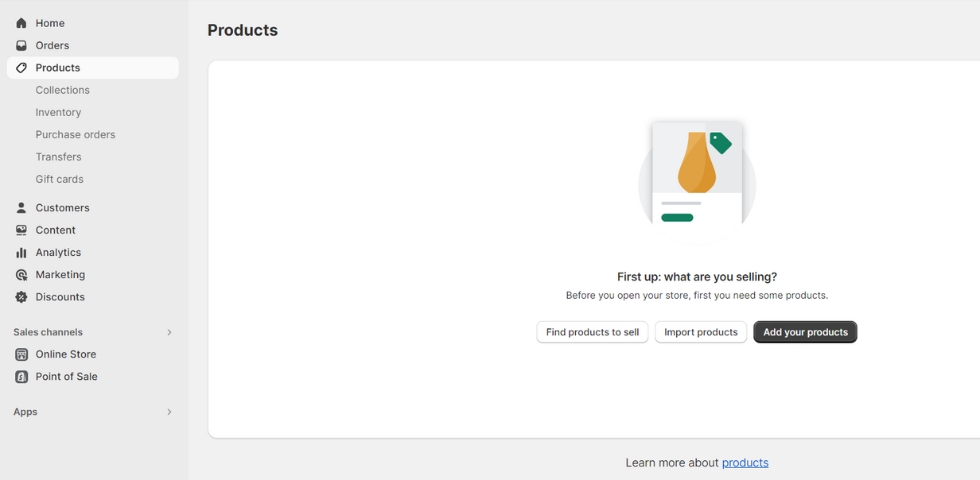
On your Shopify dashboard, you can click on the green button, Add Product, under the Products tab.
Product detail screen includes:
- Product Title
- Description
- Photos and video
- Pricing
- Inventory data
- Shipping date
- Product options
- Item page SEO
- Select sales channels
- Organize products in your store
Step 6: Build Your Shopify Store – Set Up Your Online Store
Now, you are set to build your Shopify store. Let’s move ahead:
- Select a theme,
- Customize theme settings
- Select Header to edit content appearing on the top of your store.
- Customize the home page using Sections.
- Add and set up policy pages using the Pages tab under Online Store.
- Create store menus by going to the Online Store and heading to the Navigation.
- Edit the site footer by choosing Footer and edit content appearing at the bottom of every page of your Online store.
- Set up SEO details in Preferences under the Online Store tab.
- Connect a domain name in the Domain tab under Settings. You can add a custom purchase through Shopify or connect your registered one.
Step 7: Place a Test Order Before Going Live
The last step is to set up your Shopify store and place a test order so you can ensure the proper and expected working of your store. So, place an order, and when you find it appearing in your eCommerce store, you are set to go live.
Note: After ending the 14-day trial period, if you still decide to continue, you need to buy a paid plan of Shopify according to your business requirements.
How Much Does It Cost To Sell On Shopify?
Well, being new to the Shopify eCommerce platform, the cost of building a Shopify store might be quite confusing for you. So, here we have unveiled the approx. rates that will show how much selling on Shopify may cost you.
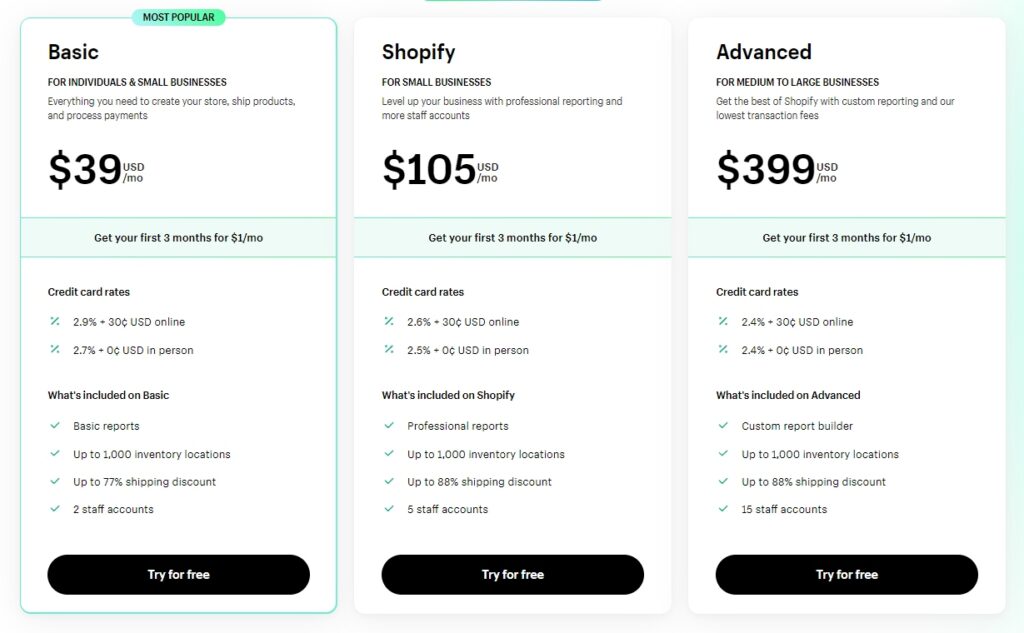
| Plan | For | Cost (USD/mon) |
|---|---|---|
| Basic | Individuals and Small Businesses | $39 |
| Shopify | Small Businesses | $105 |
| Advanced | For Medium to Large Businesses | $399 |
Shopify offers plans for monthly and yearly payments. All its plans arrive with the following features:
- Online Store: It helps build an online store with the best converting and one-click checkout.
- Sales Channels: Expanding your customer reach by listing your store’s catalog across top online marketplaces and social media platforms is best.
- Point of Sale: It comes with inventory tracking, staff management, and more.
- Round-the-Clock Support: Shopify provides 24/7 live chat and email support on every Shopify plan.
Alternative Shopify Plans
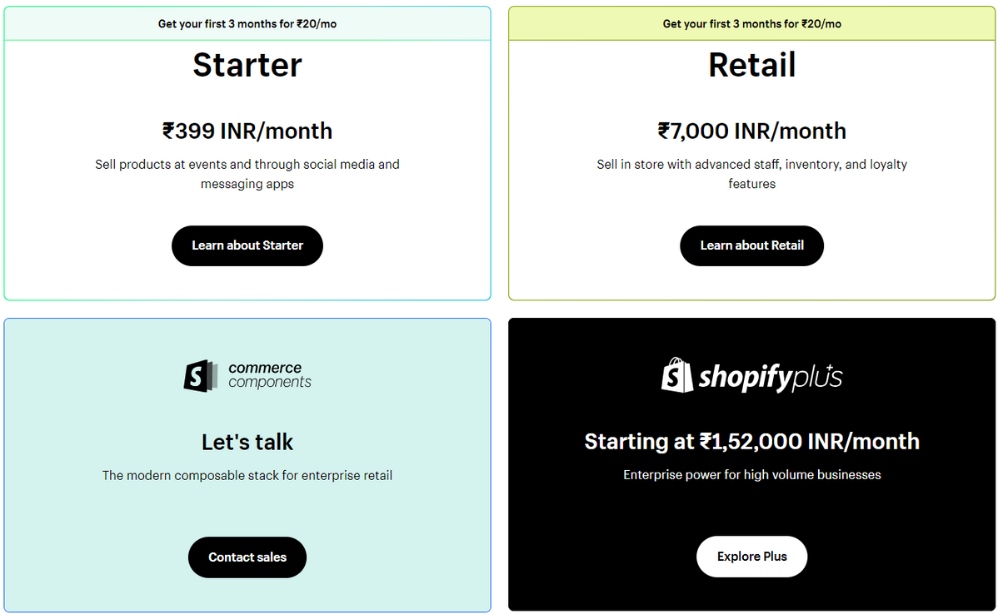
| Plan | Inclusion | Cost (USD/mon) |
|---|---|---|
| Starter | Sell products at events and via messaging and social media apps. | $5 |
| Retail | In-store selling with advanced staff, loyalty, and inventory features. | $89 |
| Shopify Plus | Enterprise benefits for large-sized businesses. | Starting at $2,000 |
How Emizentech Can Help You?
After going through this post, you learned the easy process following which you can build an online store to sell your products.
But what if you want to develop a customized Shopify store for your business? Well, in this case, you need to possess some specialized skills, or you can hire a Shopify development company.
Key Skills You Should Look For
- Flexible Shopify developers hiring models,
- Transparent cost,
- On-time delivery
- Agile development,
- Use of the latest tools and technology,
- Outstanding solutions, etc.
Wrapping Lines
So, you might have found selling on Shopify easier and quicker than other eCommerce platforms. The best part is there’s no need to get deep into designing tricks, making your store’s full-screen design perfect because most shoppers prefer buying through their mobile devices. So, if you want to start selling from day one, you can build your store in a day.
You can also hire a Shopify Development Company to ease your job and emerge with a unique and user-friendly eCommerce store for your business.


 USA
USA UK
UK
